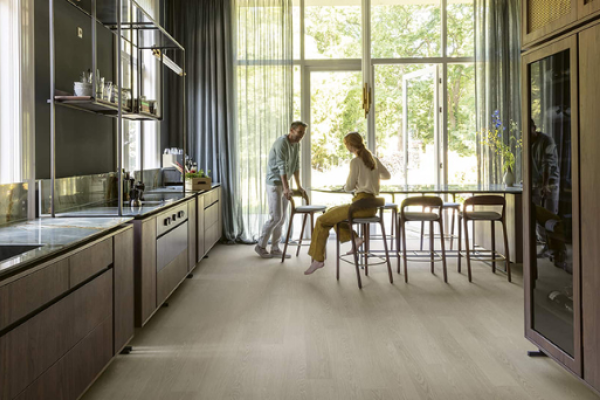
A wood wall is a unique touch that can dress up any room. Here's how to do it right.
Wood Feature Wall Tips
Share

As a design statement, wood walls have a lot going for them. Softwood lumber is affordable and environmentally friendly, and offers a down-to-earth counterpoint to lives dominated by high-tech electronic gadgets. So it should come as no surprise that wood feature walls are a top customer request and interior design trend.
Feature walls are common in Austin, Texas homes, where builder and remodeler Matt Risinger has created many of them. His field-proven tips will help you give clients a wall finish that will look good for years to come.
Choose your wood. Many of the architects Risinger works with spec white or yellow pine with a whitewash paint that lets the grain show through. But any species can be used, including cedar, redwood, fir and pine.
Pick a profile. While 1x6 or 1x8 shiplap is acceptable, tongue-and-groove minimizes the need to face nail. Filled fastener holes aren't noticeable in painted trim, but in a stained or whitewashed wall, they're nearly impossible to hide. You want the homeowners' attention drawn to the wood grain, not to a row of nails. For T&G boards over 1/2 in. drywall, shoot 15-gauge finish nails through the tongue to the framing.
Control humidity. If you install a wood wall in an unconditioned home when humidity is 50% or higher, the boards will dry out and shrink when the air conditioning is turned on, opening unacceptable gaps. In hot, humid weather it's preferable to have an operational air conditioner. If that's not possible keep a humidifier going until the AC is operational. To ensure tight edge joints, precondition the boards for several days with the AC running.
Install drywall first. Wood boards add a beautiful finish, but won't stop air leakage or sound transmission. Because of this, they should be installed over a layer of minimum 1/2 in. drywall that has been taped at the seams. On exterior walls, the drywall acts as an air barrier; on interior walls it provides mass to help dampen sound.
Kerf to prevent cupping. You can reduce the chance that a board will cup by creating relief kerfs on the backside. Set a table saw or circular saw to a depth of about 1/8 in. and make two cuts lengthwise along the back of each board.
Mind those gaps. Though board edges can be installed tight to one another, Risnger prefers a "dime gap," which is just what it sounds like: just wide enough to slip a dime into. The gap compensates for inconsistencies in board width and hides slight expansion and contraction.
Biscuit end joints. A biscuit joiner is a must when facing a wall with wood—in fact, Risinger calls biscuits "a finish carpenter's secret weapon" and uses them on all butt joints. Even slight movement or shrinkage in end joints can create noticeable gap and ridges; biscuits keep the joints tight and flat.
Don't skimp on glue. Liberal use of glue will keep those biscuit joints from opening up over time. Some installers also use construction adhesive to keep the boards tight to the drywall.
Feature walls can match the look and feel of any design style, from rustic to modern, depending on the species and finish of the wood used. Wood Naturally has created an online idea center that contractors can use to get clients thinking about how wood walls (and other wood features) can enhance the look of their home.


